Showing posts with label dinner. Show all posts

Monday, October 8, 2012

Coconut Shrimp and Yummy Noodles!

Okay...let me just give a YUMMY shout out for this one!  I love me some coconut fried shrimp, but this one was BAKED and very healthy and low cal/low fat/low everything!  And I did not change a THING from her original recipe!!!   Delicious and I served it with the Fettucine Alfredo from her cookbook that I have made in the past.  Along with some edamame! 

HG's Sweet Coconut Crunch Shrimp


HG's Sweet Coconut Crunch Shrimp

Bigtime Shrimp!
Once you start popping these sweet-n-crispy shrimp, you're not gonna be able to stop. Good thing they're guilt-free...

Ingredients:
1/4 cup Fiber One bran cereal (original)
1/3 cup shredded sweetened coconut
3 tbsp. panko breadcrumbs
1/4 tsp. chili powder
1/8 tsp. garlic powder
1/8 tsp. black pepper
Dash salt
12 oz. (about 20) raw large shrimp, peeled, deveined, tails removed
3 tbsp. fat-free liquid egg substitute (like Egg Beaters Original)

HG Tip! If your coconut shreds are somewhat long, give 'em a rough chop!

Directions:
Preheat oven to 400 degrees.

Place cereal in a sealable plastic bag and, removing as much air as possible, seal. Using a meat mallet or heavy can, carefully crush cereal through the bag. Add sweetened coconut, panko breadcrumbs, chili powder, garlic powder, black pepper, and salt to the bag; seal and shake to mix. Transfer mixture to a large plate and set aside.

Spray a large baking sheet with nonstick spray and set aside. Pat shrimp with paper towels to ensure they are completely dry.

Combine shrimp with egg substitute in a bowl and toss lightly to coat. One at a time, shake excess egg from shrimp and transfer to the coconut-crumb mixture, gently patting and flipping to coat. Evenly place coated shrimp on the baking sheet.

Bake in the oven for 10 - 12 minutes, until outsides are crispy and lightly browned and insides are cooked through. Serve and enjoy!

MAKES 4 SERVINGS

Serving Size: 1/4th of recipe, about 5 shrimp
Calories: 164
Fat: 4.5g
Sodium: 266mg
Carbs: 12g
Fiber: 2g
Sugars: 3.5g
Protein: 19.5g

PointsPlus® value 4*

Fettuccine Alfredo with a PointsPlus® value of 2*!!!
Fettuccine Hungry Girlfredo!

(81 Calories, 3g Fat, 242mg Sodium, 9g Carbs, 4g Fiber, <1g Sugars, 4g Protein = PointsPlus® value 2*)

This recipe will rock your world.  Share it with everyone you know...ASAP! 
Ingredients:

1 Package
Tofu Shirataki Fettuccine Shaped Tofu Noodles
1/2 Wedge The Laughing Cow Light Cheese
1 teaspoon Fat Free Sour Cream
2 teaspoons Kraft Reduced Fat Parmesan Cheese
Salt & Pepper (if desired)

Rinse fettuccine noodles VERY well.  Microwave them for one minute, then drain them and pat dry. Add cheeses and sour cream.  Mix thoroughly.  Microwave to help melt cheese further, and mix some more.  Add salt and pepper to taste.  Enjoy.  Serves 1.


My pics:

I made a dipping sauce with horseradish sauce and orange marmalade - still LOW in calories and everything else!


Love me some edamame!!!

For whatever reason, my noodles picture won't come through, so just look at hers and admire.  It is SUCH a great way to eat pasta without any guilt!!!

Went on an 8 mile walk tonight and made yet ANOTHER HG recipe - some delicous bacon wrapped chicken.  Will post that tomorrow b/c it was deemed another home run!!!


Tuesday, October 2, 2012

Comfort Food without All the Calories and Guilt

Yep...another Hungry Girl recipe - and once again it did not fail to satisfy!  Seriously - I have to question the calorie count in this one b/c it was UBER tender and delicious and filling!  Instead of serving it with true cole slaw, I used just the mix - gave it the crunch and taste of cole slaw without mayonnaise or other additions. 

I also made my friend Laura's famous Mac 'n Cheese recipe - not sure of the calorie count, but I did use all low fat or reduced fat ingredients, and again, it's all about the portion control.  Served up some small side salads and for those who wanted a bun, I had those on the ready - figured I could do without and I did!

Got in 70 minutes on the treadmill again (have been hitting it every day!) and had an all around great day!  Chilling with the hubster now and watching some TV  :) 

'Cue the Pulled Pork

PER SERVING (2/3 cup): 220 calories, 6g fat, 540mg sodium, 16g carbs, 1g fiber, 12g sugars, 24g protein -- PointsPlus® value 5*
No-guilt BBQ pork!?! Prepare to be wowed...


Ingredients:
1 cup canned tomato sauce
1/2 cup ketchup
2 tbsp. plus 2 tsp. brown sugar (not packed)
2 tbsp. plus 2 tsp. cider vinegar
2 tsp. garlic powder
2 cups sliced onion, cut into 2-inch strips
3/4 lb. raw lean boneless pork tenderloin, trimmed of excess fat
3/4 lb. raw boneless pork shoulder (the leanest piece you can find), trimmed of excess fat
Optional: crushed red pepper

Directions:


To make the sauce, place all ingredients except onion and pork in the crock pot. Stir until mixed. Add onion and pork and coat well with the sauce.  Cover and cook on high for 3 - 4 hours or on low for 7 - 8 hours, until pork is fully cooked.

Remove all the pork and place it in a large bowl. Shred each piece using two forks -- one to hold the pork in place and the other to scrape across the meat and shred it.  Return the shredded pork to the crock pot and mix well with the sauce.

If you're serving a group, keep the crock pot on its lowest setting, so the pork stays warm. If you like, season to taste with crushed red pepper. Yum time!

MAKES 6 SERVINGS


Laura's Famous Mac 'n Cheese

7 ounces of macaroni (yes - only 7!)
2 cups small curd cottage cheese (I used reduced fat)
1 cup sour cream (I used 1/2 cup non-fat and 1/2 cup fat free)
1 egg
8 oz cheddar cheese (I used reduced fat)
1/2 tsp salt
dash pepper
paprika

Cook macaroni and drain.  Combine cheddar cheese, sour cream, egg, salt and pepper, then add cheese.  Add in macaroni and pour into greasted dish.  Bake for 45 minutes at 350 degree for 45 minutes (I overbaked mine a bit - got caught multitasking too much).  But it was still delicious!  Add a bit more cheese and paprika and cook another 5-10 minutes.


Takes the Cake - Ziti Bake!!!

Still on my "Hungry Girl" kick for recipes - and found another one that totally delivers on taste and feeling full!  Found it on her website, and it's also in her "300 under 300" cookbook - page 230.  Believe it or not, the only changes I made were to do the mushrooms on the side (for Miss Picky) and next time I make it, I will saute the spinach in its own pan - the garlic and onion were soft and I felt like I was over cooking them when I added in the spinach. 

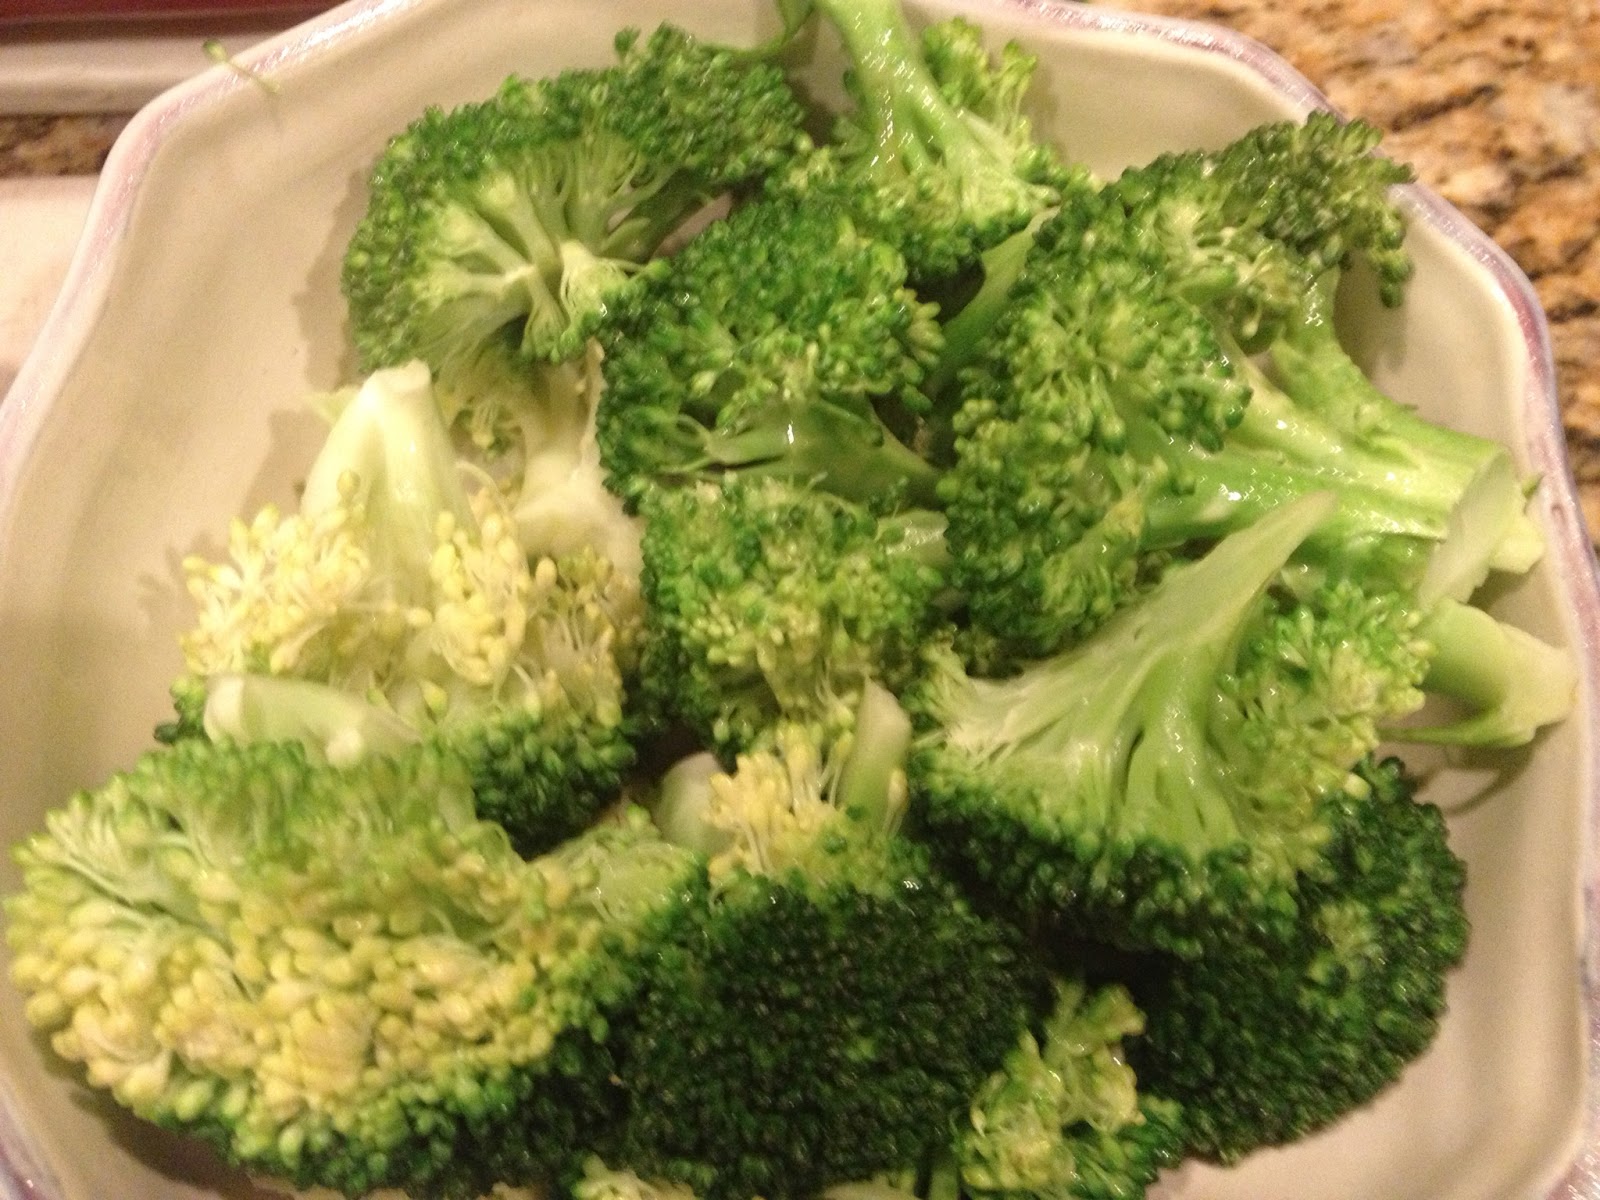
Other than that, even though it only calls for 5 oz of pasta, that's all we needed to make the full recipe in an 8 x 8 square baking pan.  And it's even vegetarian, Michele!  I guess not vegan b/c of the cheese, but I'm sure there are cheese substitutes available.  Paired it with some steamed broccoli and served the mushrooms on the side (piled them on my serving!) and it was a hit!  Bon appetit!  I have her pulled pork recipe simmering in the slow cooker while we speak - update later today or tomorrow!


Takes The Cake - Ziti Bake


Ingredients:

5 oz. (about 1 1/2 cups) uncooked whole-wheat or high-fiber ziti or penne pasta
1 cup thinly sliced onion
2 cups chopped brown mushrooms
1 tbsp. chopped garlic
2 cups fresh spinach
3/4 cup low-fat/light ricotta cheese
2 tbsp. chopped fresh basil
1 1/2 cups canned crushed tomatoes
1/2 cup plus 2 tbsp. shredded part-skim mozzarella cheese, divided
2 tbsp. reduced-fat Parmesan-style grated topping

Directions:


Preheat oven to 375 degrees.

Prepare pasta al dente according to package directions. Drain well, place in a large bowl, and set aside.

Meanwhile, bring an extra-large skillet sprayed with nonstick spray to medium heat on the stove. Add onion and, stirring occasionally, cook until slightly softened, about 3 minutes. Add mushrooms and garlic, and raise temperature to medium high. Continue to cook, stirring often, until mushrooms are soft, about 3 minutes.

Add spinach to the skillet and, stirring often, cook until spinach has wilted and excess moisture has evaporated, about 8 minutes. Remove from heat, and stir in ricotta cheese and basil.

Transfer contents of the skillet to the bowl with the cooked pasta. Add tomatoes and 1/2 cup mozzarella cheese. Toss gently to mix.

Spray an 8" X 8" baking pan with nonstick spray, and carefully fill with contents of the bowl. Evenly top with Parm-style topping and remaining 2 tbsp. mozzarella cheese.

Bake in the oven until entire dish is hot and cheese on top has melted, about 15 minutes. Allow to cool slightly, and then serve and enjoy!

MAKES 4 SERVINGS

Monday, October 1, 2012

Guilt Free Shrimp Scampi with "Pasta-Less" Pasta

So...this was actually Saturday night's dinner...but figured I definitely wanted to get the word out on this tasty piece of heaven!  I love shrimp scampi, especially the buttery, garlicky noodles - this was a very reduced calorie/fat version and used the shirataku noodles for the pasta.  I love to have some pasta that actually TASTES like pasta but is guilt free!  And believe it or not, the only thing I changed was sauteeing in some spinach and adding it to the pan when I added the noodles at the end.  And added in a splash of white wine when I added the lemon juice.  Oh...and sauteed some mushrooms on the side that I used for mine only :)

Seriously - another home run and loved by the entire family!!!  :)


Hungry Girl Shrimp Scampi with Shirataki Noodles

Ingredients:

1 small lemon
2 packages
House Foods Tofu Shirataki Fettuccine Shaped Noodle Substitute
1/4 cup chopped onion
1 tsp. chopped garlic
8 oz. raw shrimp, peeled, tails removed, deveined
1 plum tomato, chopped (I used canned diced tomatoes sauteed with garlic)2 tbsp. light whipped butter or light buttery spread (like
Brummel & Brown)
2 tsp. reduced-fat Parmesan-style grated topping
Optional: salt, black pepper, crushed red pepper, chopped parsley


Directions:

Cut lemon in half, and squeeze the juice from one half into a small dish; remove any seeds, and set aside. Cut the other half into wedges, and set those aside as well.

Use a strainer to rinse and drain shirataki noodles well. Pat dry. In a microwave-safe bowl, microwave for 1 minute. Drain excess liquid. Dry as thoroughly as possible, using paper towels. Cut noodles up a bit, using kitchen shears if you've got 'em. Set aside.

Bring a skillet sprayed with nonstick spray (butter flavored, if you've got it) to medium heat. Add onion and garlic, and cook until softened, 2 - 3 minutes.

Add shrimp and tomato. Stirring occasionally, cook until shrimp are opaque, about 2 minutes. Add lemon juice and continue to cook and stir for 1 minute.

Raise heat to medium high, add shirataki noodles, and mix well. Continue to cook for 1 - 2 minutes, until entire dish is hot and shrimp are cooked through. Add butter and stir.

Plate (or bowl!) your scampi, and top each serving with 1 tsp. Parm-style topping. Garnish with lemon wedges and, if you like, season to taste with optional ingredients. Enjoy!

MAKES 2 SERVINGS

Serving Size: 1/2 of recipe (about 1 3/4 cups)
Calories: 238
Fat: 8.5g
Sodium: 329mg
Carbs: 14g
Fiber: 5g
Sugars: 2g
Protein: 26g

PointsPlus® value 6*

Sunday, September 30, 2012

Triple Threat Stir Fry - YUM!!!

So...this will be an interesting kind of post.  I did take "inspiration" from a Hungry Girl recipe, but really didn't follow it to a tee - as a matter of fact, I made more changes than kept the same.  But still, her simple yet flavorful looking recipe led me to make something I have made in the past, so I will still give her credit, where credit is due. 

Her recipe is called the Tempting Teriyaki Trifecta - but because my spin on it is VERY different, I will post my recipe, and also call to your attention what her original directions were.  It is on page 330 of the "300 Under 300" cookbook...and definitely gave us an asian fix without the calories or carbs.

Ingredients:

6 oz lean fillet, sliced (we used actual filet mignon)
8 oz raw boneless skinless, lean chicken, sliced (hers called for less but we wanted more protein)
6 ounces raw shrimp, peeled and deveined, tails remained.
Hers called for a frozen vegetable medley - decided to use the real thing!:
Chopped broccoli florets
Sliced Onions
Matchstick Carrots
Sliced Celery
Chopped Green Onions
Sliced Water Chestnuts
Sliced Mushrooms
Teriyaki Sauce/Marinade
Wok Oil
Chow Mein Noodles


Start by getting the wok hot and using some wok oil in there.  Begin with the chicken as it will take the longest to cook.  Then the broccoli florets.  In order from there, sliced onions, filet, carrots, celery, green onions, shrimp and then water chestnuts.  Also toss in a bit of the teriyaki sauce and the low fat sesame/ginger dressing.  I know you see mushrooms, but bear with me as I have a non-mushroom loving family!

After a good 6-8 minutes, all of the vegetables were cooked with a nice crisp, and the proteins were cooked through without being tough or raw.  So I pulled that out of the wok and put it into a serving dish and into the oven to warm.

I had already started the water for the jasmine rice, so that was ready to roll.  Two more things that needed woking - first put the bean sprouts in with a dash of wok oil and once they were warmed through I gave them their own container to continue warming in the oven.  Last item - MUSHROOMS.  My favorite but my family does not like that.  Wok'ed them a bit and put them in a small container in the oven.

So by that time, the rice was done and all containers in the oven were warm and tasty looking.  I set my items on the counter and took some pics - rice, stir fry, bean sprouts, mushrooms, and chow mein noodles for a topping.


So here is the delicious plate I put together - lots of protein and low in carb and fats. 

 Delicious, tasty and filling!  Low in calories, fat and carbs.  Stay tuned tomorrow night for my version on her fantastic shrimp scampi with shiratuki noodles from Saturday night!

Thanks for the 1000+ views!  I feel like a million bucks :)

Tuesday, September 25, 2012

Home Run - "Pasta-Less" Three-Cheese Chicken Cannelloni

I was about to ask a question again that I posed last night, and then I got smart!  I was about to re-ask:  "Can I get in trouble for posting a recipe that is not online?"  And then I realized how long the recipe was in the cookbook and saw I would have to retype it.  Which motivated me to GOOGLE it and voila - you can find just about ANYTHING on the world wide web!  But if you can't, as long as you give the creator credit, is it okay???  I know - I'm a rule follower, and don't want to break any kind of blogging code!

Anyways, I have provided links below, and this is from page 236 of "300 Under 300" by Lisa Lillien.

Let me digress a moment.  Can you even believe how far we have come since we entered the .com age?  I mean seriously - back in the day, think of how old school we were compared to now.  And not only that, most folks get their world wide web on their PHONES nowadays!  Seriously - communication has come such a long way, and I have mentioned to a few friends how interesting it would be to  write a thesis on specifically how social media has impacted our society.  Who knows where we will be in another ten years or so, but I will simply enjoy the ability to find out information with a couple of clicks.

So...as I mentioned, this is the Hungry Girl experiment.  I did my research, tried to find some recipes with ingredients that could be "re-used", made a "playbook" and have been having SO much fun in the kitchen again.  I was excited about an Italian dish that did not include pasta.  Although of course, I did include pasta as a side dish, but used portion control :)

Here is where I found the recipe - again, another delicious main dish from Hungry Girl, aka, Lisa Lillien.  Another low calorie, low fat, low carb and HIGH protein dish.  She has certainly used her smartness to pad the meal with vegetables and make you NOT hungry...hmmm...do you sense a connection with her name now?  :)

And of course...you know me by now.  I have included my "changes" from her original recipe.  Not many, but a few that I have noted below and those were captured in a bold, blue font :)  All I can say is thank goodness I won't develop supreme carpal tunnel syndrome by not having to type out the whole wonderful recipe below!

I doubled all ingredients except for the chicken.  And then, I was able to get 6 chicken pieces with the filling instead of 4, and I must say, just eating ONE was truly filling and delicious! 


Three-Cheese Chicken Cannelloni
PER SERVING (1 stuffed cutlet, 1/2 of recipe): 274 calories, 3.5g fat, 647mg sodium, 12g carbs, 2g fiber, 6g sugars, 43g protein -- PointsPlus® value 6*

Pasta is passé (and starchy!). We like our cheesy filling rolled up in CHICKEN! And we know you will too.


Ingredients:


1/4 cup frozen chopped spinach (I used a full bag of fresh spinach and sauteed it - see below)1/4 cup finely chopped mushrooms
1/3 cup fat-free ricotta cheese
2 tsp. reduced-fat Parmesan-style grated topping
1 tsp. chopped garlic, divided
Dash nutmeg
Dash each salt and black pepper, or more to taste
Two 5-oz. raw boneless skinless lean chicken breast cutlets
3/4 cup canned crushed tomatoes
1 tsp. dried minced onion
1/2 tsp. Italian seasoning
1 stick light string cheese (I used a soy mozzarella cheese slice.  For next round, I may check out the calories in low fat shredded mozzarella cheese and if comparable, go with that.  Just a lot of work to shred cheese slices or sticks)


Directions:

Preheat oven to 350 degrees.

*Changed from her original recipe.  Instead of:  "Place spinach and mushrooms in a microwave-safe bowl. Microwave for 1 minute, until softened."  I used cooking spray and sauteed the fresh spinach and mushrooms.  I will say be SURE to do the blotting she mentions below, because after the first round of cooking, I had a layer of water in my pan!
Blot thoroughly, removing excess liquid. Add ricotta cheese, Parm-style topping, 1/2 tsp. garlic, nutmeg, salt, and pepper. Mix well and set aside.

Place one chicken cutlet in a large sealable plastic bag and, removing as much air as possible, seal bag. Carefully pound chicken through the bag with a meat mallet or heavy can, until uniformly about 1/3-inch thick. Repeat with second cutlet.  (I did use think chicken cutlets already but did pound them a bit, being careful not to tear them)

Lay cutlets flat and spread evenly with veggie-cheese mixture. Starting with a longer side, roll up one cutlet (not too tightly or the filling will ooze!),   YES - this is true!!!  and secure with toothpicks - don't use colored ones - we had little circles of color!  Place in a baking pan sprayed with nonstick spray. Repeat with second cutlet. Cover pan with foil.  Bake in the oven for 20 minutes.


Meanwhile, in a small bowl, combine tomatoes, onion, Italian seasoning, and remaining 1/2 tsp. garlic. Mix well and set aside.   I actually decided to sautee this combination so the flavors could blend!
Break string cheese into thirds and place in a food processor or blender -- blend at high speed until cheese takes on a shredded or grated consistency. (Or just tear string cheese into pieces and roughly chop.) Set aside.  I used scissors to cut the slices of mozzarella into strips and then cubed them.  As I said above, I think I may check out the difference between regular shredded low-fat mozzarella.  Maybe I'm lazy?

Remove pan from the oven, and carefully remove foil. Spoon seasoned tomatoes equally over chicken, and sprinkle shredded/grated string cheese evenly over tomatoes. 
And this one is without mushrooms and without tomatoes for Miss Picky!


Some with mushrooms and some without

Return to the oven (uncovered) and bake for 15 minutes, or until chicken is cooked through and cheese on top has melted. Remove toothpicks and enjoy!
Finished product with mushrooms and without!


The one without mushrooms OR tomatoes!


MAKES 2 SERVINGS

One of the "tweaks" that I made as well was to sautee the mushrooms separately from the spinach.  I just happen to have a non-mushroom loving family.  So I "customized" the recipe...even to the point where mine had EVERYTHING, my hubby's had everything but the 'shrooms and Lil' J had no mushrooms and even didn't want the tomatoes on top!

So...I paired it with some "bad for you" pasta (at least it was fresh and I just added in some spray butter, reduced fat parmesan cheese and parsley.


And some steamed vegetables...


It is just SO FUN to be back here again and I can't believe I am about to reach 1000 page hits!  I am quite international by now as well - so HELLO to all you countries who have popped in to say hi! 

Later, taters!


Tuesday, September 4, 2012

From Hot Tea and Honey to Homemade Comfort Food

So...I guess I was destined to get hit with an end of the summer cold, but I did not expect it to kick my ass quite this badly.  On Saturday, I felt GREAT.  On Sunday, I felt good, but had the twinges of a sore throat.  Hubby and I still went on a 90 minute walk so I was obviously feeling okay...but as the day wore on, I felt punier and punier.  And woke up on Monday morning feeling like absolute crippy crap.  Let's just say thank goodness for hot tea with honey, naps and Nyquil.  I was so thankful to have Labor Day off so that I could completely relax and attempt recuperation.

Today was more of the same, though it was a workday so naps were not part of the plan.  But I was lucky to have an easier workload than usual and by mid-day, I was starting to feel like I might be on the upswing.  Hubby brought home Campbell's soup for lunch (who doesn't love some Chicken Noodle??!!) and by 4 I decided that I needed to cook up the steak in the outside fridge so that it doesn't go bad.  Was gonna fry up the chicken, but it has a later expiration date and also needed to soak in buttermilk overnight, so I made a detour and went with a steak and potatoes comfort food menu.  I included some kale chips and SteamFresh green beans and had dinner on the table in about 30-45 minutes.  Do you like how big the servings of greens are?

I know you're tired of hearing it, but both the steak and mashed potato recipes came from Melissa D'Arabian.  Again, I seem to identify with her ingredients and style, but do have to giggle that even though I am copying from a FAMOUS chef who is PAID for what they do, I still end up making slight tweaks.  Please go to the links above (and below) for the original recipes, and my small revisions are shown below. 

French Cut Steak

Ingredients
  • 1 teaspoon paprika
  • 1/2 teaspoon onion powder
  • 1/2 teaspoon garlic powder
  • Kosher salt and freshly ground black pepper
  • 1 (1 pound) skirt steak, cut in half (I used flat iron steak cut into four pieces)
  • 2 tablespoons vegetable oil, divided (I used olive oil)
  • 1/4 cup butter, divided
  • 2 medium sweet onions, sliced (I only used 1)
  • 1/3 cup white wine
  • 2 tablespoons red wine vinegar
  • 1/3 cup beef stock or broth

Directions

In a small bowl, combine spices and salt and pepper. Liberally season the steak with the rub and let rest 15 minutes on the counter.  Meanwhile, in a saute pan, heat 1 tablespoon oil and 1 tablespoon butter over low heat. Add onions, season and cook until soft and caramelized, about 20 minutes.

In a large saute pan, heat the remaining 1 tablespoon vegetable oil with 1 tablespoon butter over high heat. Place steaks in the pan and sear until nicely browned, about 3 minute per side for medium-rare.  I do like mine medium rare, so I pulled mine off to rest about this time.  I put the other ones into the oven in the skillet to continue cooking so it could be more of a medium/medium well doneness. 

Once to your desired temperature, let the meat rest for 10 minutes.  Place the saute pan (that you did the steak in) over high heat and deglaze with white wine and vinegar until reduced by 1/2. Add onions to the pan with beef broth and reduce by half. Salt and pepper, to taste. Remove from heat and whisk in remaining 2 tablespoons of butter. (I did not add the extra 2 tbsp of butter).  Slice steak and fan to serve. Top with sauce.  You can see that the medium/medium well is on the left with medium rare on the right.  VERY flavorful.  I put the steak over the onions in the serving dish, but when I plated it above, I put the onions and sauce over the steak. 

Buttermilk Mashed Potatoes

Ingredients
  • 3 large russet potatoes, peeled, halved, and cut into chunks (I used smaller potatoes - about 10.  I did not peel them, but for "prettiness", I would peel them next time)
  • 1 teaspoon salt, plus extra for cooking water
  • 3 tablespoons butter
  • 2/3 cup buttermilk, warmed
  • 2 green onions, finely chopped
  • Freshly ground black pepper
  • Bacon bits (my optional add in)

Directions

Place the potatoes in a saucepan and cover with cold water. Add salt and bring to a boil, then cook until the potatoes fall off a fork when pierced, about 20 minutes. Drain the potatoes, reserving about a 1/2 cup of the cooking liquid.

Place the potatoes in a bowl and mix in the butter, salt, buttermilk, and green onions and stir to blend. Add a tablespoon or 2 of cooking liquid if necessary to obtain desired consistency.  Add in bacon bits if you'd like.  Salt and pepper liberally and serve.

As I said above, I made some kale chips and simple Steam Fresh green beans to round out the menu, and it was a delicious and "comforting" meal.


Tomorrow night is Trivia night, and then Thursday will be my first attempt at frying chicken...yet another recipe from Melissa :)  Gonna get a good night's sleep tonight, so g'nite and perhaps I will say hello to everyone tomorrow!

Saturday, September 1, 2012

Melissa D'Arabians Shrimp Recipe and Tofu Shirataki Fettucine Alfredo!

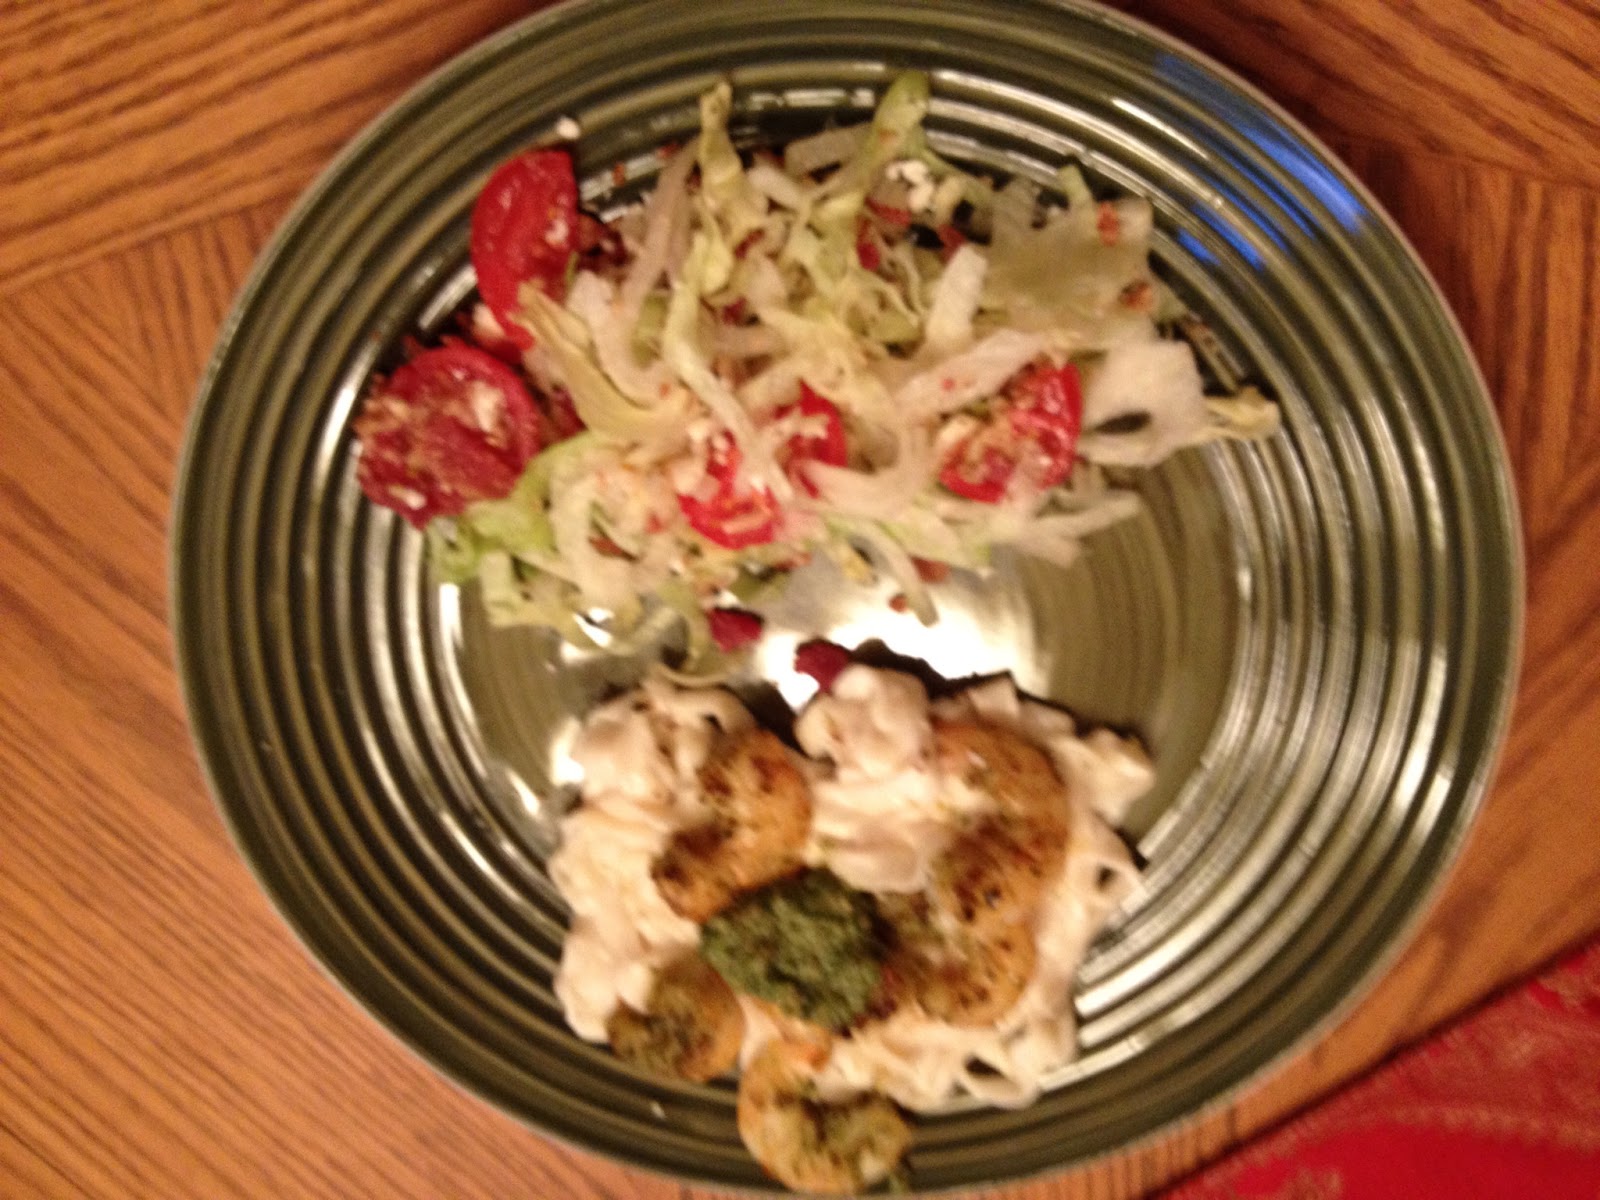
Wow.  Do you ever have one of those days when you feel like you completely hit the nail on the head with a meal, and it is also healthy?  That was tonight - DELICIOUS!  Thank you Melissa D'Arabian for an AMAZING shrimp recipe tonight!  I paired it with a brand new endeavour using Tofu Shirataki Fettucine noodles...and when you can eat Fettucine Alfredo with no guilt, it makes it just better and better!  A simple side salad, and here was my delicious and healthy plate for the evening!

I am still learning how to take these pictures so that they look more inviting, but let's just say that Melissa's shrimp over this HEALTHY fettucine alfredo with a side salad was just DELISH.

Let me post her shrimp recipe first.  The ONLY thing I would have changed would have been to use 2 tbsp instead of one of the pesto mixture when stirring in the shrimp b/c it would give it more of a crispy sear with the delicious elements it included.  But it was super delicious as is!  Here are the ingredients, minus the pecans because I accidentally left them off my grocery list so sweet hubby was at the store buying them.


I did want to share a "trick" when you are peeling and deveining the shrimp to save on extra plates etc.  I kept the peeled shrimp in the middle of the white paper it came on.  I then did the peeling and put those parts to the right of the shrimp, and put the peeled shrimp to the left.  Once complete, I could take the peeled shrimp off and do any deveining needed.  And just simply roll up the white paper with the shells and put in the plastic bag it came in so that it won't stink up your garbage can!  Just a tip :)

Ingredients

Pesto:

  • 1 lime
  • 1 1/2 cups fresh cilantro leaves (I used about a cup to make sure it wasn't too overpowering)
  • 2 green onions, chopped
  • 2 tablespoons toasted chopped pecans
  • 1 clove garlic, chopped
  • 1 teaspoon sugar
  • 2 tablespoons vegetable oil
  • 2 tablespoons extra-virgin olive oil
  • Kosher salt and freshly ground black pepper
Shrimp:
  • 3/4 pound raw medium-size shrimp, peeled and deveined
  • 1 tablespoon extra-virgin olive oil
  • Kosher salt

Directions

Pesto: Grate 1 teaspoon zest from the lime and juice the entire lime for about 2 tablespoons of juice. (P.S.  go ahead and zest the whole lime so that you will have 1-2 tsp of zest for future!  Just set it aside in a separate container.)  Combine the zest and juice with the cilantro, green onions, chopped pecans, chopped garlic, sugar, vegetable oil, and extra-virgin olive oil in the bowl of a food processor. Pulse the mixture until well-combined, but still slightly chunky. Season the pesto with salt, and pepper, to taste.


Shrimp: In a bowl, toss the shrimp with 1 tablespoon of the pesto. Heat the oil in a large skillet over medium-high heat. Saute the shrimp until just opaque and pink, about 3 minutes. Put a generous spoonful of pesto into a serving bowl. Add the shrimp and toss to coat. Serve the remaining pesto on the side or freeze for another use.

I have decided that Melissa must be my long lost sister.  Her choice of ingredients is SO similar to mine and I feel lucky to use her as a base and make teeny tiny adjustments.


Fettucine Alfredo Using Tofu Shirataki Fettucine Noodles

My sister and niece had told me about these during their recent visit.  Okay - who doesn't LOVE pasta?  But who hates the carbs and calories that come with them?  For an 8 oz package of these beauties, there are 40 calories total with .5 grams of fat and 3 carbs, although there are 2 grams of fiber, so basically that's 1 net carb.  NO sugar and 1 gram of protein with a few trace vitamins.  I was doubtful until I made the recipe on the bag which is from Hungry Girl - I have to go check out her site b/c this was seriously rock star!


HG's Tofu Shirataki Fettucine Alfredo

1 package of the noodles
2 tbsp fat free cream cheese (okay - ours was low fat)
2 tsp reduced fat Parmesan grated topping
1 tsp fat free sour cream
salt and pepper to taste

Drain and rinse the Tofu noodles thoroughly.  Parboil for 2-3 minutes, then dry very well.  Add cream cheese, parmesan and sour cream.   Mix well.  Microwave for 1 additional minute and then mix again.  Add salt and pepper. 

This recipe is approximately 95 calories with 2 grams of fat for the whole thing!  Hubby and I split it so b/c my Parmesan was not reduced fat and cream cheese was low fat (not fat free) I would guesstimate that total was maybe 180 calories - so that is 90 calories a piece!!! 

I definitely had my doubts - but no longer!  It is much more expensive than regular pasta, but if you like your carbs like we do, it is SO worth it so enjoy it without the guilt!

Paired it all with a side salad

and the meal was filling, healthy and if I had to guesstimate calorie wise, less than 500 calories!

For those who are following my fitness journey, I had an AWESOME walk on the treadmill at 4 mph with incline between 4 and 6.  At times, my calves and shin splints were a little mega sore, so I went back and forth.  Burned 540 calories and felt GREAT! 

Tomorrow we get to SLEEP in as late as we want!!!  We plan on taking a nice long walk in our hilly neighborhood and get some much needed Vitamin D.

Thanks again Sue and Sarah for the turn on to the noodles!  Will definitely be playing around with those quite a bit in the near future!!!  Not gonna even tell Julia of the substitution!!!


Tuesday, August 28, 2012

A Fancy Schmancy Meal...and a TOUGH Run!

Back in late July, I was proud enough of making a yummy Melissa D'Arabian recipe, then posting to her wall about it and she commented (so I thought I was the coolest cat ever)...but I guess I never posted it or took any pics.  Let's just say that it was good enough to make the cut again and was just as wonderful as it was last time!  Just by serving the rib(s) over polenta and with a side salad, it was a restaurant quality meal and on the cheap!
Here is the full episode recipe from Food Network TV, and below are my "common folk" notes because I actually watched the episode and took notes instead of following her recipe online.

Country Style Pork Ribs

1 pound or so of country style pork ribs, bone in
Carrots
Celery
Onion
Vegetable Oil
Garlic
Tomato Paste (I used tomato soup b/c I was out)
1/4 cup of Apple Cider Vinegar
Chicken Stock
Red Pepper Flakes (I omitted)
Bay Leaves

Start by salting and peppering the ribs and sear them in a hot pan with olive oil.  You will want a nice crust on them, so get the pan.  Once they are browned, take them out and start to build a braising liquid by adding in some chopped celery, carrots and onions.  You may need a touch more oil, and also add some chopped garlic and tomato paste (or tomato soup worked in a pinch tonight).  Add in 1/4 cup of apple cider vinegar to deglaze the pan.  Use some red pepper flakes if you want some heat; or a few bay leaves.  Add the ribs back in and add chicken stock - just enough to cover halfway up the meat.  Bring that to a simmer and then put the covered pan in the oven at 350 degrees.  Cook for an hour with the lid on and 1/2 hour with the lid off.
Creamy Polenta

1 cup of milk
1 cup of half and half (I used almond milk tonight b/c we were out)
1/3 cup of coarse corn grits (polenta)
butter
parmesan cheese

Melissa says the ratio of cornmeal to liquid is 1 to 7 - but you start with 1 to 6 in a saucepan using 1 cup of milk, 1 cup of half and half and 1/3 cup of coarse corn grits.  Add in some butter and salt.  Whisk them and then spray a slow cooker with cooking spray.  After 20 minutes or so, I then poured the polenta mixture in there and cooked it for a few hours on high.  I cooked it about an hour and a half tonight and it was a good consistency.  This way you don't have to "nurse" it but can stir it once every 30 minutes or so.  Right before serving, add in some grated parmesan cheese, and if you want (and if your calorie content allows, you can add in a bit more half and half (to get to the 1-7 ratio) and butter).  But with just the cheese, it's still tasty.  Mine looks so messy - remember - I'm still learning!


So the meal was the good part of the day.  The tough part was my run - my 10 K is this coming Monday and I know for a fact I am undertrained.  But I was bound and determined to do 5 miles today so that at least I know I'm close.  And I did - but it was not pretty.  My knee was aching, my hips started hurting and just as I was nearing the finish line I started to get nauseous - a combination of speeding it up too much in the last 5 minutes along with not eating nearly enough throughout the day to fuel my body with energy. 

So literally, I finished, hopped off the treadmill, and let's just say I had a quick "puke-a-rooskie" but then felt fine.   I know gross - TMI.  But hey...I'm hoping some runners out there might have some pointers for me so that is not how I cross the finish line on Monday!  Definitely learned my lesson fueling up during the day.  Timewise it was okay...not my goal, but close to it, and I really need to be sure I am setting realistic expectations for myself so that I am not disappointed.  I did stretch out a lot, then took a nice hot bath with mineral spirits or whatever they are called - to help with aches and pains. 

I'm trying to figure out my game plan for the next few days...don't want to over do it for sure, but also I want to keep on running.  I'm thinking maybe 4 tomorrow, walking on Thursday, 6 on Friday and then walking on Saturday and Sunday so that I have fresh legs on Monday.  Does anyone have any thoughts other than "you should have started training sooner than just two weeks ago!!!"  It's just that the race is so close by and I drove the course today...relatively flat and it's one where you turn around at the halfway point and I like those better for some reason.

Thank goodness my awesome supportive husband has all the faith in the world in me that I CAN DO THIS!  Now it just has to rub off on me :)

Alrighty - a few more chapters of my book "Pope Joan" and then off to bed.  I planned on an earlier bedtime but I am just way too entrenched in my night owl ways!